Commando Kit
Commando Construction Notes, page 4
page 2
page 3
page 4: Commando Construction Notes
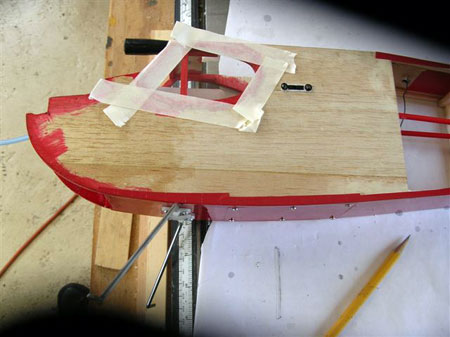
by Don SeboltThe cabin windows are being installed. I'm using Fletch-Tite that is a glue commonly used by those of us who fletch our own arrows. If it will stick feathers on an anodized aluminum shaft.... I also use Testor's cement for making clear windows. It is milky from the bottle, but dries clear. Both do a good job. There may be better available, but it's what we can get around here.
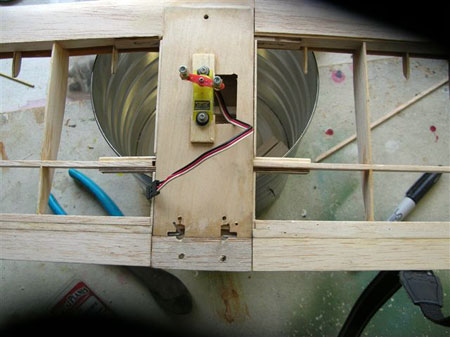
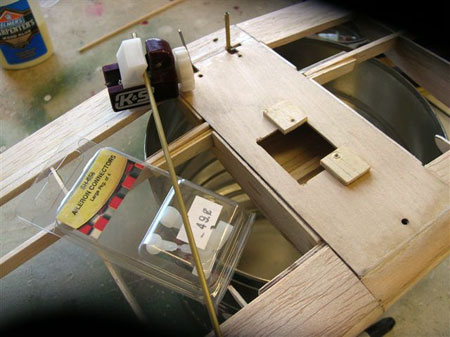
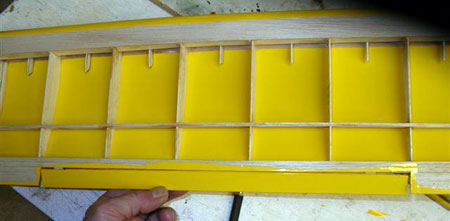
The aileron servo has been mounted with 2-56 screws on plywood blocks and located. When everything is aligned, it will be CA'd in place with thin cyanoacrylate. A large opening has been allowed to the right for easy removal of the servo.
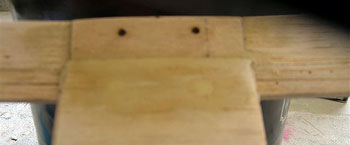
The trailing edge has been reinforced on the upper side for the two 2-56 mounting bolts that attach the wing to the mount in the cabin. The mount is plywood with blind nuts CA'd in place.
The 1/16" wire aileron rods are too small for the aileron connectors, but a piece of brass tubing is measured and cut, then CA'd to the wire. The aileron connectors are then slipped over the tubing, which is a good, tight fit, and also CA'd. It is nice to have tools that do a good job, and the little K&S tubing cutter is just that. It is readily available in hobby shops and stores where small tubing is sold.
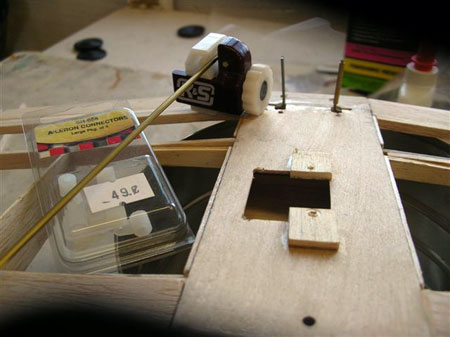
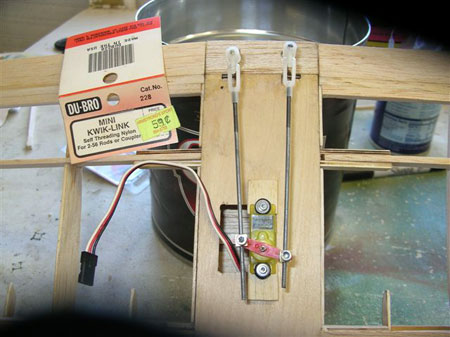
The servo has been temporarily screwed in place and DU-BRO MINI KWIK-LINKs have been screwed onto the 2-56 threaded rods and snapped onto the aileron connectors. The 2-56 rods are then marked and cut to size. Although the KWIK-LINKS snap on well, it is wise to slip a piece of fuel tubing over them as a lock. It takes a lot of hours to build an airplane, and a flopping aileron can put those hours into a trash can in seconds. A minute more to lock the KWIK-LINKS is a good investment of time.
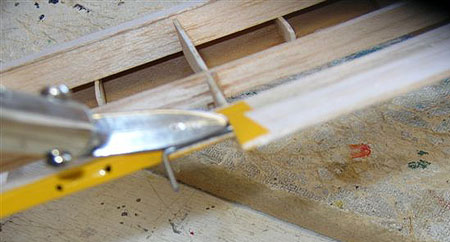
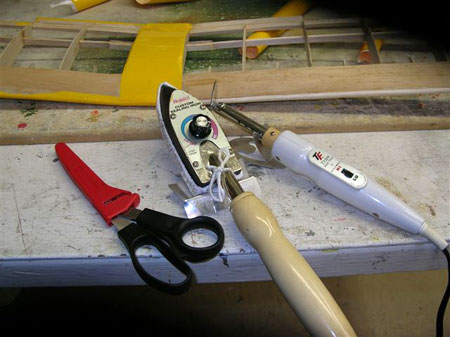
Applying the Monocote covering to the wings- I go around the edges of wings, horizontal and vertical stabilizers, and any other places where wrinkles can occur. It takes a little longer, but I get virtually NO WRINKLES this way. The Top Flite trim iron is a must for close work and worth it's weight in gold. Set at low heat, you can work wrinkles out with a circular motion and get into those tight places.
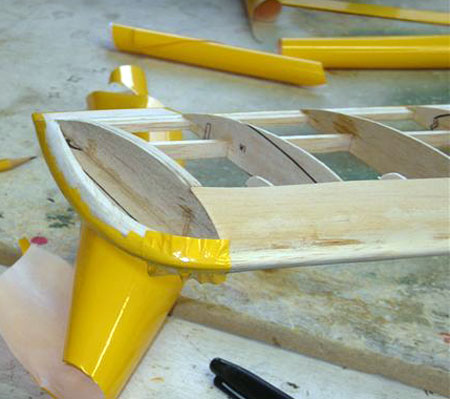
The right wing has been edged all the way around and the top center section covered. The Hobbico sealing iron at low heat activates the glue, then back over with high heat finishes the job.
Shown are the "tools of the trade" left to right: Monocote scissors, Hobbico sealing iron, and Top Flite trim iron. I bought the Top Flite scissors as not only they are made for cutting plastic covering, but they come with a sheath that has a built-in sharpener-invaluable! The Top Flite trim iron comes with two different heads and will do any hard areas with ease. All good equipment.
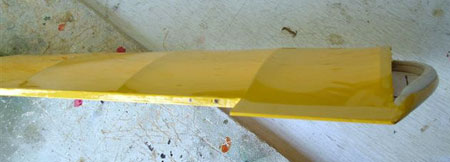
The worst curve covered until it wrinkles....
The top of the wing with the wrinkles trimmed off and smoothed out.

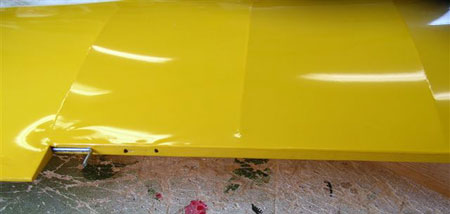
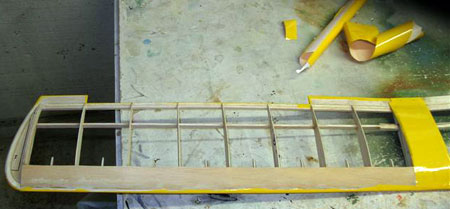
The top of the wing is covered. The ailerons have been located in place. The bottom of the wing remains uncovered as do the wingtips. Since the slots for the aileron hinges go all the way through, I will install the hinges before covering the bottom. If CA glue gets on the covering, it can discolor it. This way, I can check for excess CA on the inside of the wing. The wingtips are open in order to place weights to balance the model laterally and covering will be added afterward.
The aileron pushrod and hinges have been CA'd in and the inside of the wing is "clean".
We've got ailerons!
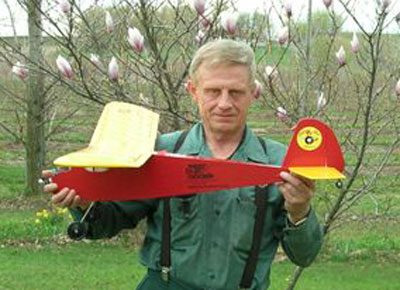
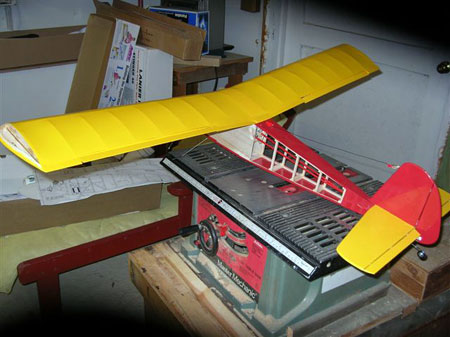
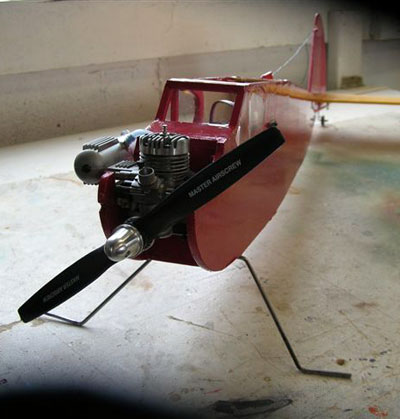
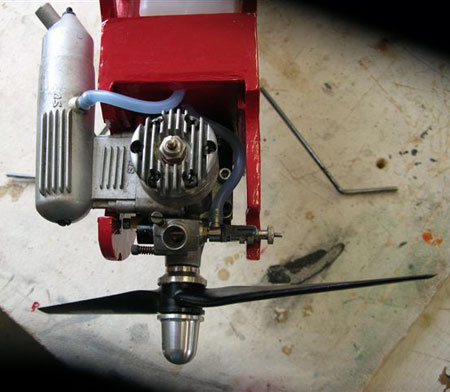
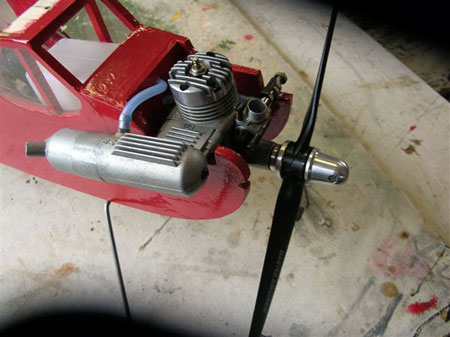
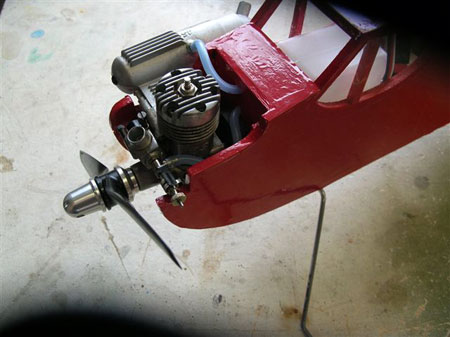
The fuselage has been covered and the engine installed and throttle adjusted.
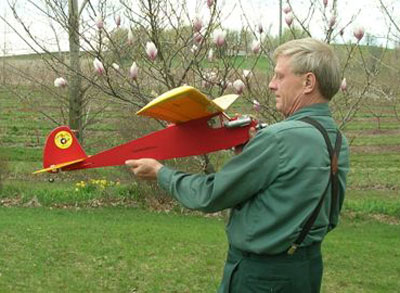
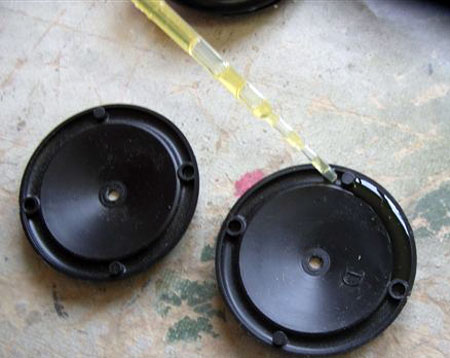
I want to use narrow wheels not only for looks, but to lessen resistance on take-off from grass ( I hate hand-launching). The closest wheels I could find were 2 inch plastic halves from Guillow's Models. I am using a common plastic lab pipette available in pharmacies and hospitals to suck up resin and deliver it into the "tire" part of the wheels. Since these wheels are merely glued together, I figure it is a good idea to fill them with resin to better absorb the shock of landing.
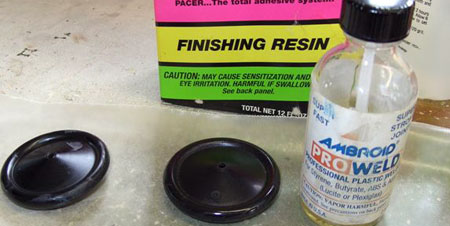
After joining the filled halves, I used Ambroid PRO-WELD glue to seal them. This cement is similar in consistency to thin CA glue and works the same...capillary action. The joint is welded almost instantly, sealing in the resin.
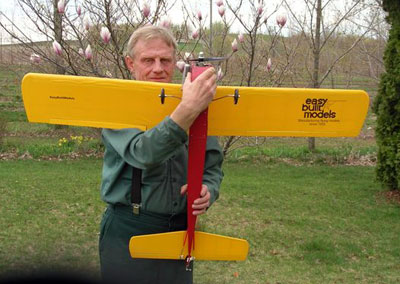
The big finish!