Howard DGA-9 Kit
Howard DGA-9 Construction
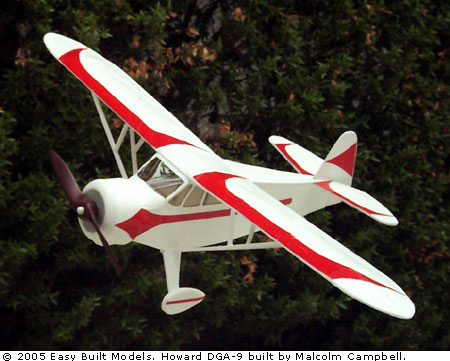
Here's the Howard. I think I sort of got carried away with the trim! It is almost entirely per plan with no extra details except for the fairing at the bottom of the windshield, the prop and the engine cowl extension.
I built the wing as one unit. I built the center section first on top of the top view so that ribs 9 aligned with the sides of the fuselage. Then I built the two wings without the inside ribs at A. Then I pinned the center section flat, glued the two inside ribs to ribs 9, lifted the tip of each wing to the required dihedral (I used ¼" since it was for display) and fitted the leading and trailing edges and the spar to the outer rib.
When I assembled the wings (left, right, center section) I pinned the center section over the plan, trimmed the leading and trailing edges and the spar of the left wing to fit into the center section with the dihedral set, applied glue and aligned the leading edge with the plans. Then I did the same with the right wing and used a straight edge to position the right wing so that both leading edges were in a straight line.
After the glue dried, I covered, painted and trimmed the wing assembly which I glued down onto the fuselage after the fuselage was covered, painted and trimmed.

To get the look of an engine in the front of the cowl, I put a small nail in the center of the end of a piece of 1" wood dowel, cut the head off, put a piece of coarse sandpaper with a hole in the center over the nail, glued it to the end of the dowel, then trimmed it around the edge to the diameter of the dowel. Then I put the nail into a hole drilled in the center of the nose block and pressed the end of the dowel with the sandpaper on it against the block as I rotated it. This fairly easily cut a recess into the nose block which I painted with aluminum paint.
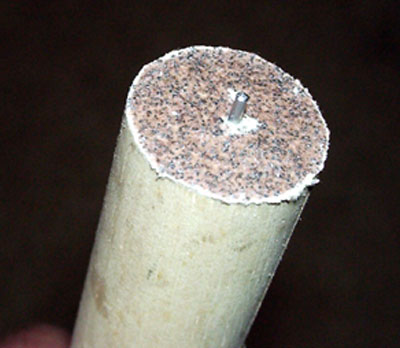
Cowl cavity tool.
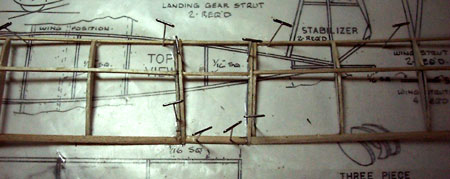
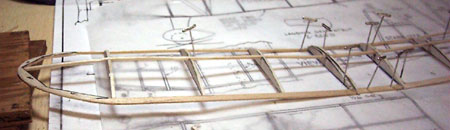
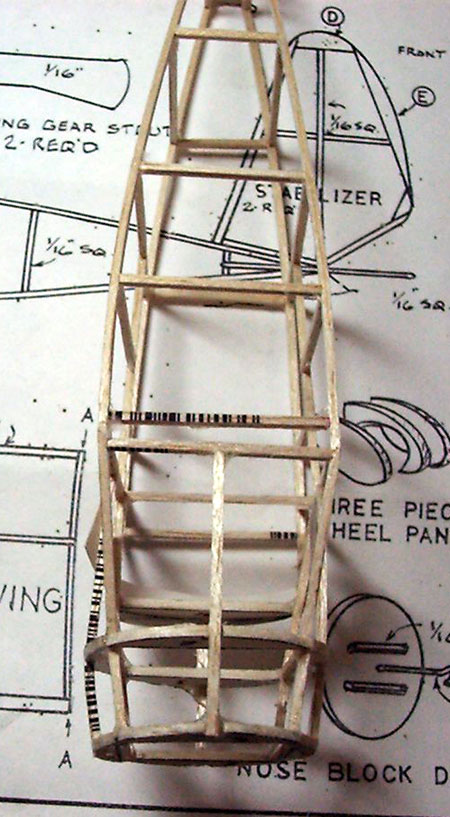
I added one extra spreader piece at the bottom between the 2 fuselage halves about 1/4" forward of the piece directly below the wing leading edge. This is where the sharp inward bend of the stringers starts and it helped establish the shape.
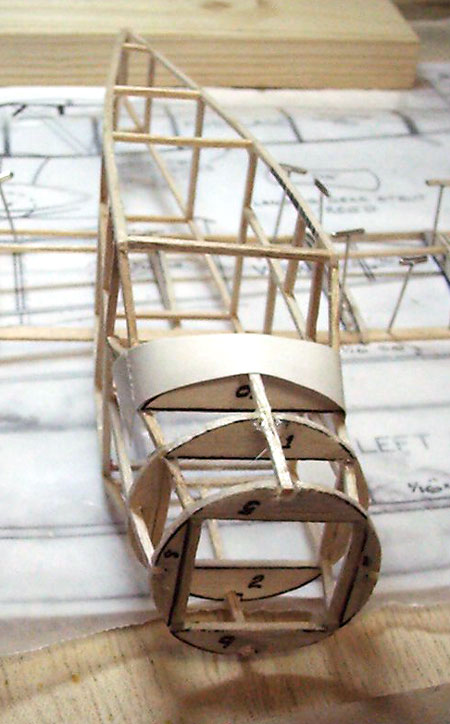
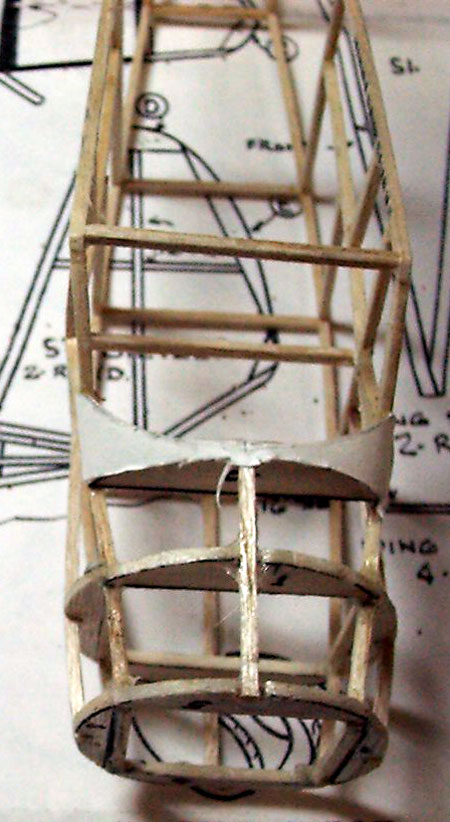
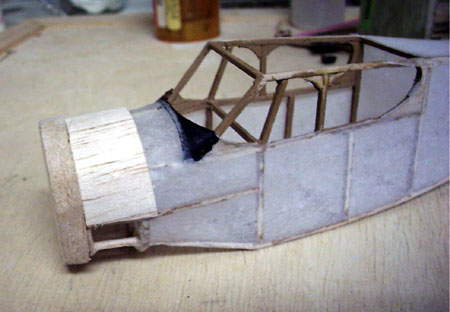
On the fuselage, I first covered the area in front of the windshield with a piece cut out of a file card because the compound shape would have been hard to cover without wrinkles. After covering the nose, I glued on the raw nose block, then covered from the block back to F1,2,3,4 with 2 pieces of 1/32 balsa sheet, each half way around, to form the engine cowl. Then I sanded the nose block to blend with the shape of the cowl.
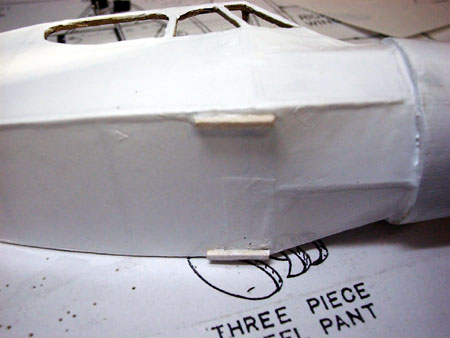
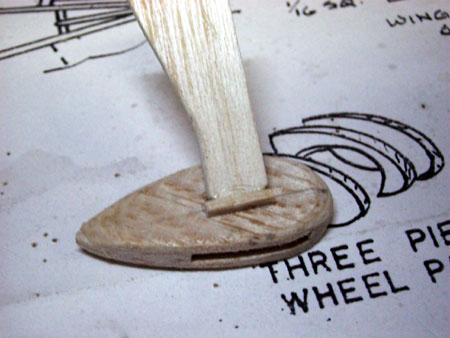
For ease of attaching the gear, I put a small 1/16" sq strip on the inside of each wheel pant for the strut to butt against (I squared off the end of the strut) and put a similar strip on each side of the bottom of the fuselage for the top of the strut to butt against. It was easy to assemble each gear, matching the wheel-to-strut angle on the plans, then gluing each to the fuselage with the strips to help position and support them.
There was no indication on the plans about the thickness of the stock for the wheel pant parts so I used 1/16". With the wheels also 1/16", they slipped snuggly into place after painting and stayed without pins or gluing.
I used a 4.2" propeller I had lying around. By the way, the propeller was mounted by forcing the handle of an artist's brush in from the back side until enough of the rounded tip showed to look like a spinner. Then I cut it off, leaving 1/2" sticking out the back side. Since the taper of the handle resulted in it being bigger towards the rear, I roughly sanded the piece sticking out to get rid of most of the taper, then drilled a hole in the nose block to fit the piece of handle.
The completed model weighs 19.9 grams (0.705 ounces). This was a lot of fun, hope you like the results.
Regards,
Malcolm
Editor's Note: Mr. Campbell built his Howard for display. Some of his construction methods, such as the heavy application of paint, should not be used if you want to fly your plane using rubber power.